Last updated at Fri, 09 Feb 2024 20:51:04 GMT
Synopsis
Improving your website security has generally been most complicated and expensive task for every Linux administrator. Let’s Encrypt is a free, automated, and open certificate authority that provides free X.509 certificates for Transport Layer Security encryption via an automated process. It is very complex process to install and add an SSL certificate to a web server. You can make it easier with the help of Let’s Encrypt. You can easily encrypt data of your website free of charge using Let’s Encrypt .
This article will walk through the process of installing and using Let’s Encrypt on Ubuntu 16.04 server.
Prerequisites
- A server running Ubuntu 16.04.
- A non-root user with sudo privileges.
- A valid public registered domain name point to your server IP address.
Install LAMP
First, you will need to install the LAMP server (Apache, MySQL, PHP) to your server. You can install it by running the following command:
sudo apt-get install apache2 php7.0 mariadb-server -y
Once the LAMP server is installed, you will need to activate SSL module and default SSL site for Apache.
You can do this by just running the following command:
sudo a2enmode ssl
sudo a2ensite default-ssl
Next, restart Apache web server to apply these changes:
sudo systemctl restart apache2
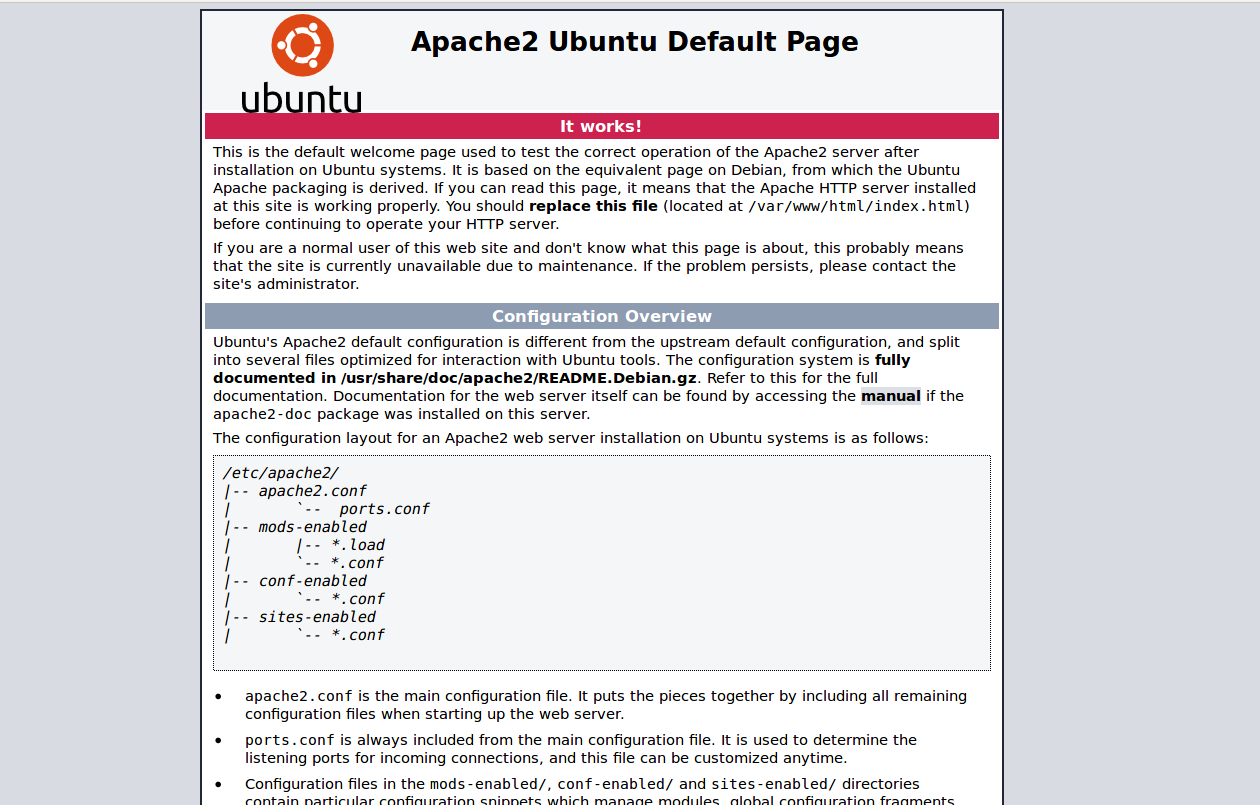
Now, access your Apache web server using your domain name via HTTPS protocol by typing the URL https://yourdomain.com in your browser. You should see the following page:

You should see an error alert in the above page. Because, your server self-signed certificate is not issued by a trusted certificate authority.
Download and Install Let’s Encrypt
First, you will need to download the latest stable version of the Let’s Encrypt from GitHub repository. You can download it with the git command line utility.
First, install git with the following command:
sudo apt-get install git -y
Next, download Let’s Encrypt with the following command:
sudo git clone https://github.com/letsencrypt/letsencrypt /opt/letsencrypt
Next, you will need to generate an SSL certificate for your domain. You can do this with the following command against your domain name as shown below:
cd /opt/letsencrypt
sudo ./letsencrypt-auto --apache -d yourdomain.com
During installation you will need to specify your E-mail address and also agree to the terms of service. Once everything goes fine, you should see the following message:
 - Congratulations! Your certificate and chain have been saved at
 /etc/letsencrypt/live/yourdomain.com/fullchain.pem. Your
 cert will expire on 2016-03-31. To obtain a new version of the
 certificate in the future, simply run Let's Encrypt again.
 - Your account credentials have been saved in your Let's Encrypt
 configuration directory at /etc/letsencrypt. You should make a
 secure backup of this folder now. This configuration directory will
 also contain certificates and private keys obtained by Let's
 Encrypt, so making regular backups of this folder is ideal.
 - If you like Let's Encrypt, please consider supporting our work by:

 Donating to ISRG / Let's Encrypt: https://letsencrypt.org/donate
 Donating to EFF: https://eff.org/donate-le
You can list all of your certificate files inside /etc/letsencrypt/live directory:
ls /etc/letsencrypt/live/yourdomain.com/
You should see the following output.
cert.pem chain.pem fullchain.pem privkey.pem
Finally, your domain should be accessible via HTTPS protocol. You can check it out at https://yourdomain.com. You should see the following page:
You can also verify the status of your SSL certificate by visiting the URL https://www.ssllabs.com/ssltest/analyze.html?d=yourdomain.com&latest.
Renew Lets Encrypt Certificates
By default, SSL certificates issued by Let’s Encrypt are valid for 90 days. So it is recommended to renew the certificate before the expiration date.
You can renew the SSL certificates manually by running the following command:
cd /opt/letsencrypt
sudo ./letsencrypt-auto certonly --renew-by-default -d yourdomain.com
You can also automate your certificate renewal process by editing /etc/crontab file:
sudo nano /etc/crontab
Add the following lines at the end of the file:
@monthly root /opt/letsencrypt/letsencrypt-auto certonly --renew-by-default -d yourdomain.com
Save and close the file when you are finished.
Update Let’s Encrypt
If you want to update your Let’s Encrypt software. Then, you can do this with the git command.
First, change the directory to the letsencrypt:
cd /opt/letsencrypt
Next, download any changes made to Let’s Encrypt with the following command:
sudo git pull
Note: Don’t forget to change yourdomain.com with your public domain name.
Conclusion
Congratulations! you have successfully installed and configured Let’s Encrypt with Apache on Ubuntu 16.04 server. You can now easily access your web server with HTTPS protocol.